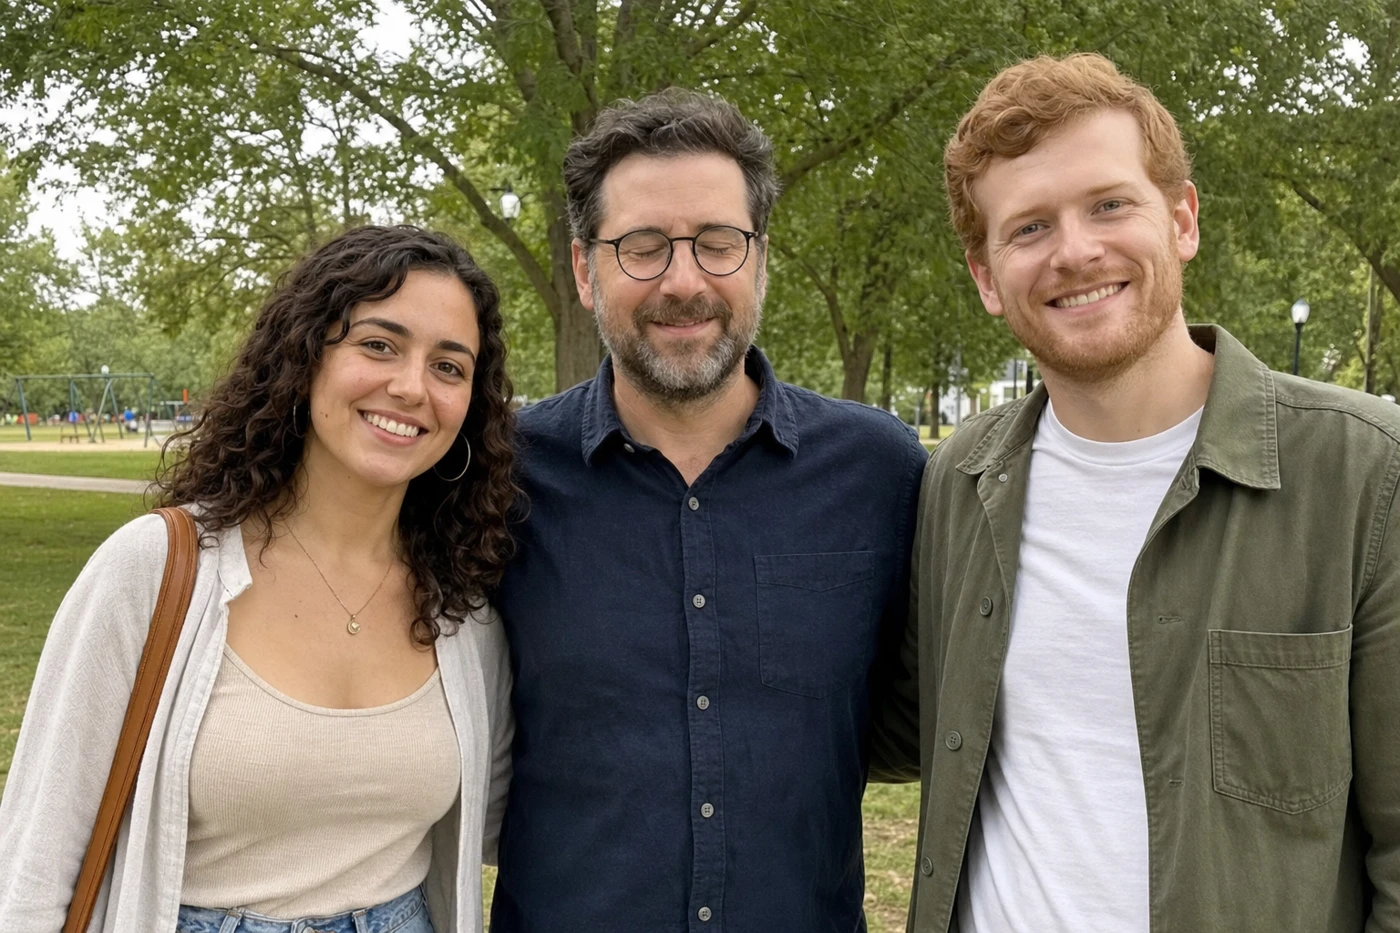
You have the smile, the light, and the moment—but someone blinked. If you have another shot with everyone’s eyes open, start there. If the photo you want to keep is the one with the blink, you can try an eye-area repair without replacing the whole face.
A JPG, PNG, or WebP photo under 10 MB. A second photo of the same person with open eyes is optional, but gives the AI more information about their appearance. Keep an untouched copy of your original.
1. Upload the photo you want to keep
Open the eye repair tool and choose your photo. Face detection runs in your browser. Wait for the face outlines before continuing. Upload the highest-quality version you have within the file limit; a screenshot of a tiny face leaves little detail to work with.
2. Select the person who blinked
Tap or click the outline around the person whose eyes are closed. A highlighted outline and a selected-person thumbnail confirm your choice. If only one face is found, it is selected for you—check it before continuing. The tool detects faces; you decide which person needs a repair.
3. Add an open-eye reference, if you have one
Choose another photo of that same person with clearly visible open eyes. If it contains multiple people, select the matching person. A neighboring frame from the same session is a useful place to look because the head angle and lighting may be similar.
You can continue without a reference. In that case, the AI must infer the eye appearance and may not match the person’s actual eyes. See the reference photo guide for a visual checklist.
4. Review your selections and restore
Check the face thumbnails. If you selected a reference, make sure both show the same person. Confirm that you have permission to edit the photos, then start the restoration. Keep the page open while it processes.
5. Inspect the eyes before downloading
Drag the before-and-after comparison and open the full-size result. Check both eyes for believable shape, gaze direction, eyelid edges, and consistency with glasses or nearby shadows. Download a new PNG only when you are satisfied; your original file is not overwritten.
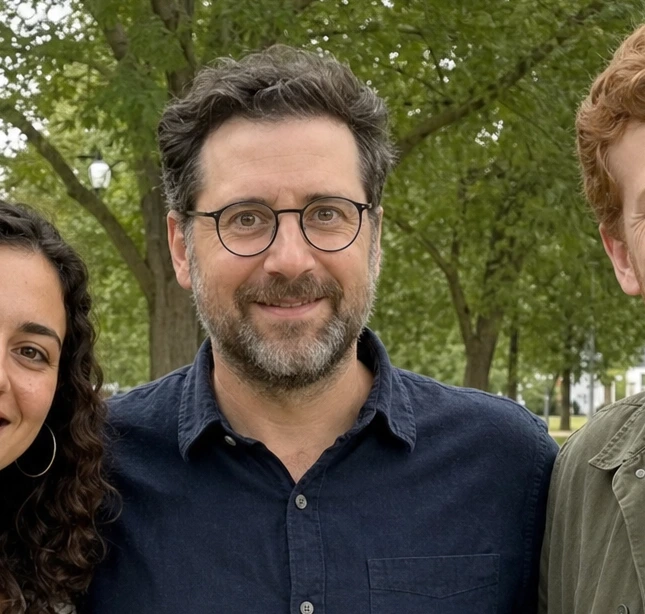
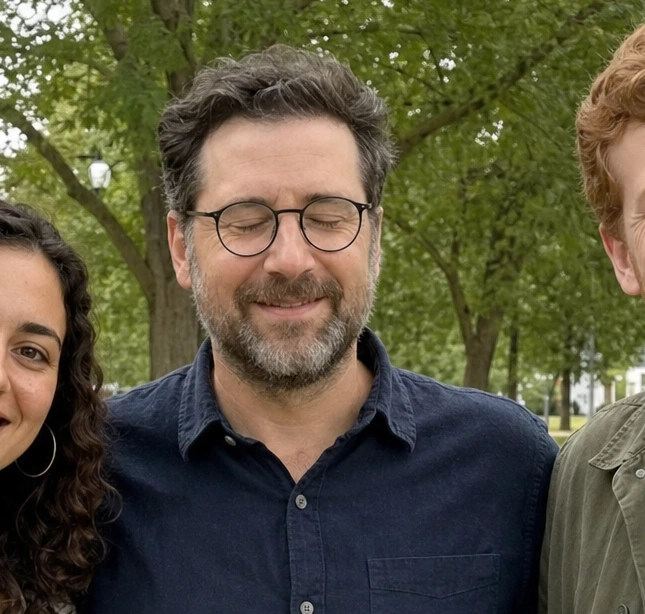 BeforeAfter
If the repair does not look right
- No face is detected
- Try a clearer original with a larger, unobstructed face. Changing the file type alone will not recover missing detail.
- The eyes still look closed or unnatural
- Use a clearer reference with a similar angle. Review the selections before generating another result. A completed request does not guarantee a successful repair.
- More than one person blinked
- The current tool repairs one person per operation. Read the group photo workflow before editing several people.
What this tool does not fix
Opening eyes is different from removing red-eye, sharpening a blurry face, or restoring a damaged print. This tool does not offer those repairs. Very small faces, heavy blur, strong side angles, and eyes hidden by sunglasses are poor candidates for a faithful eye edit.